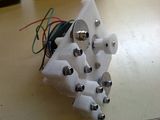
I have added these pictures of the assemblies that I've built to the previous X-axis pages.
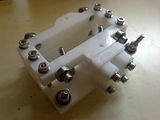
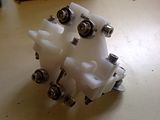
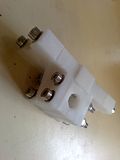
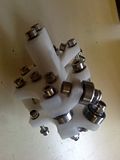
I started the day by spending most of the morning cutting the threaded rod and bar with the cut off saw I mentioned last time.
What I haven't mentioned before is that I am using stainless fittings, threaded bar and rod throughout. This has had the effect of causing the cutting to take much longer as tidying the threads is very difficult.
I decided on stainless as by shopping around I was able to get the bits for not too much more than mild steel (the shipping ends up being an equaliser) and my Mendel will live in the shed so needs as much protection as possible.
Next step was to quickly calibrate the x-axis carriage as I had to leave that till I had the bar cut. Again I was impressed with the print quality as I did have to do much tweaking to get it sliding smoothly. Having said that I think some more calibration will be in order when the entire unit is assembled.
Motor bracket
My approach to assembly is similar to when I build Meccano. I find all the parts listed, put then in container where I am working and start assembly. As I am following the Wiki assembly instructions I am finding times where the RP parts aren't there. Not because Nophead forgot to include them, but rather because the set he sells includes a number of updates. In this case using the 'Alternate X Motor Bracket'. That's the good thing about buying from someone who is constantly striving for improvement. The downside is that I now realised that my X-axis bars were too long. This bracket needs 463mm bars, not 495mm (oh well, back the garage...). The additional issue with these changes is that they may require fixings not specified in the main BOM. In this case, the stepper motor needs shorted screws than the (shortest) M3x20 caps specified. I went and had a rummage in the binds of screws from scrapped printers, etc and managed to find enough suitable ones.
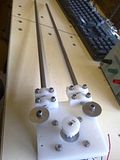
Final x-axis assembly
This step brings the sub-assemblies made before together. There is again a slight twist as the spacers are no longer required with the alternate motor bracket. I decided not to fit the belt at this stage (a decision that make come back to haunt me later) as I felt I would keep knocking it off while fiddling.
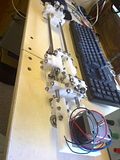
With a lunch interruption, that's been another 2 hours, not counting the cutting time this morning.


No comments:
Post a Comment