Once upon a time...

Once upon a time...
Christmas 2016

Sunday 27 September 2009

Camper Part 27: Getting all holy....

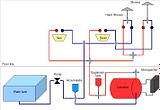
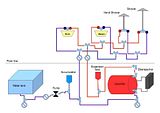
I started the day by 'sketching; the water layout so that I could post a copy of it on the SMBCC Forum to invite comment and ensure I had it right. I also wanted a visual representation of what was in my head so I could figure out the plumbing fittings needed. The pictures below show the first draft and the version it was quickly revised to.

Photobucket Photobucket


Having dealt with the water design I decided to get on with the bathroom and as such tackled the door for the cassette toilet which I had salvaged out of the caravan. I searched the net and while I could find a copy of the installation manual (on the Thetford website, but badly scanned as some of the pages are at an angle so cut off), I was unable to get a copy of the cutting templates which are referred to. The manual did however describe the process so I was able to follow that.

Using some scrap plywood and putting the toilet on my workbench, I cut out an opening and checked to see that I had it right. I didn't want to mess up the side of the vehicle. By doing this I ended up with a plywood template for cutting the outside opening, as well as an interior template for marking the positions. The two templates have holes drilled in them to 'key' them to each other. (WARNING: Read further on!!)

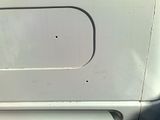
According to the Thetford instructions, you take the first (interior) template and fit it into the corner where the toilet will be located. Drill two small (3mm) holes through the marked locations on the template and right through the wall. This was where I hit my first hurdle. The wall of the ambulance turns out to be about 85mm thick and none of my small drill bits were long enough. In the end I used a 10mm blade style hole cutter.

The second (outer) template which has corresponding holes is then stuck to the outside of the vehicle using these holes as guides.

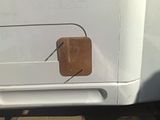
Here's the warning mentioned earlier: As I was using the description to figure this out for myself, I ended up drilling these holes in the part of the outer skin which would later be used to create the door infill panel. The holes should be drill quite close to the outer reaches of the template in the portion which will be trimmed of (i.e. the portion where the plastic frame is located.

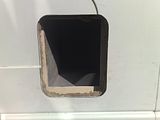
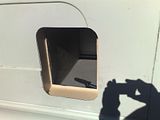
I drew around the template with a marker and then removed the template so that I could apply tape around the aperture and then cut it out. I opted to use an angle grinder with a thin disc and a good mask. The rounded corners were done with a jigsaw. The inside panel was cut from the side also using the grinder. In this case the corners were left square.

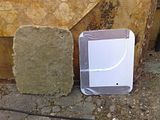
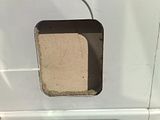
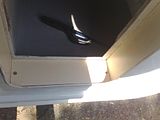
I made up some spacer blocks with scrap plywood (actually bits of the ambulance cabinets) and inserted these in the gap. The photo sequence stops at this point, but I then trimmed the out skin panel (care had to be taken to ensure that body line would match up afterwards) and bonded it into the door with white sealant adhesive (similar to Sikaflex).

The frame was fitted to the vehicle using new stainless screws after drilling pilot holes in the fibreglass skin. This was a temporary fitting as the day was at an end. I would refit this, sealing all the joints properly on another sunny day.
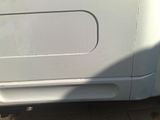
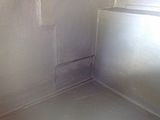
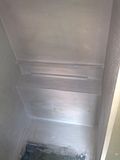
Before, nice whole wall Inside location Marker holes Template in place outer skin and insulation outer hole Holy wall Ply spacers Ply spacers 2

Saturday 26 September 2009

Camper Part 26: Getting into hot water (sort of)

As noted in the previous post, I decided to figure out the mountings for the calorifier (blue tank in pictures), etc so that I could order the piping and fittings next.

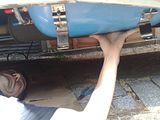
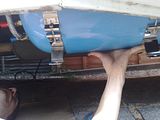
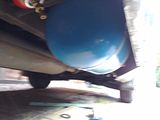
The day started with me sliding under the vehicle and holding the calorifier in place while Lorraine took some pictures. The goal being that I would be able to see if I did in fact have as much clearance as I thought I would have. The answer was yes (just)!

Calorifier checking for fit Calorifier checking for fit 2


(The pictures show the stainless saddles still set for bottom mounting, these will later be rotated for top mounting.)

I then set about taking measurements and making up some brackets using some scrap angle and square tubing that I had lying around. The area under the sills has outriggers to support the floor which are bolted to the chassis. I decided that it would be safe to drill holes in these and bolt the brackets to them, but I am avoiding drilling any holes in the chassis itself.

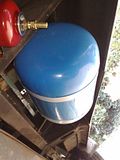
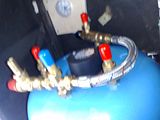
These pictures show the calorifier mounted as a test fit prior to removing for painting of the brackets. The final picture in the sequence (apologies for the camera shake) shows the calorifier fittings in order to see the clearance for pipes.

Calorifier during fitting Calorifier during fitting 2 Calorifier fittings


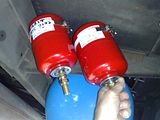
For the expansion tank and accumulator (red tanks in pictures), I drilled some holes directly in the outrigger. While I have been told that these tanks could be mounted horizontally (they work on pressure), I decided to mount them as vertically as possible. This picture shows one test mounted and the other held in place.

Expansion and accumulator location


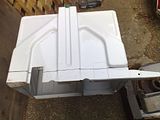
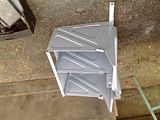
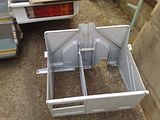
The last job on this topic for the day was to dismantle it all and paint the brackets with black Hammerite. I decided that I would not be assembling this kit under the vehicle until I had made a protective box to surround it. Pete and I bought some aluminium checker plate for a car transporter we built a few years back. A lot of this is still at the workshop so I will be scavenging some to construct a durable box. the colorifier coating is expanded foam so it won't be standing up to stones, etc on it's own.

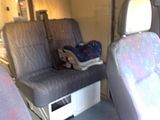
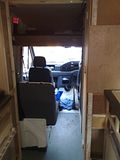
Still having some daylight hours I decided to fit the rear passenger seat. I described the modification and the plates in the previous post. I got Lorraine to help me and tightened up all the bolts. It was a bit of pig getting the plates into place underneath as two of them are above the fuel tank. The tank however hangs below (sort of straddling) the chassis rails so there is about 150mm of clearance, but still takes some contorting to work around. The pictures below show the seat in place. It has since been used to convey Kyle safely around. It currently only has one seatbelt fitted, but as we only have one child, this should suffice for the time being. I am contemplating fitting a lapbelt to the other seat for emergency use.

Rear passenger seats Rear view of passenger seats showing passage

Friday 25 September 2009

Camper Part 25: Bathroom Tanked and seating set

Following on from the weekend's progress, on Wednesday I was at home for the day due to the school being shut so managed to make some more progress.

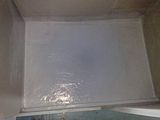
The extra Mira 4400 I ordered had arrived so I completed the tanking of the bathroom/showerroom. The bits that still needed doing were the inside of the vanity cupboard and the floor. At the same time I drilled the hole for the shower drain. This is larger than the original shower drain as I managed to get a suitable low profile trap from Ebay. I thought the original small shower drain would be a bit slower than ideal and this will look better.
I also managed to continue work on the rear passenger seats. I made up some plates out of left over stainless which would mount under the floor. I welded captive nuts to these and painted the welded areas. Tonight Lorraine helped me fit them by screwing in the bolts from the top while I lay on my back underneath and aligned the plates.


Shower floor tanking Vanity tanking Holes for the rear passenger seat


Tomorrow I can tighten these up and fit the actual seat and seatbelt post.

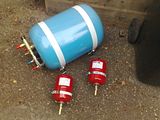
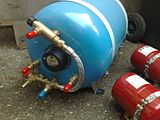
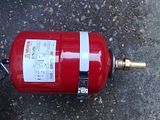
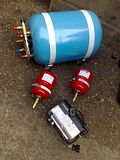
Yesterday I also managed to order the calorifier, expansion tank and accumulator for the hot water system, I also bought a table leg from the same supplier (Surejust). All the bits arrived tonight. I'm very impressed, see the pictures below. The expansion tank and accumulator are the same products, but pre-loaded to different pressures. The expansion tank is setup to be fitted after the calorifier and deals with the expansion of the hot water. The accumulator goes on the cold water side and helps stop the pump from pulsing on and off all the time (i.e. equalises the flow).

This weekend I hope to figure out how everything will mount then I can buy the piping and fittings, etc.

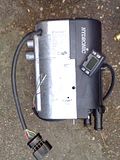
The pictures below show all of these bits and also the Eberspacher which will be used to heat the water when the vehicle engine isn't running.

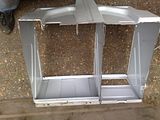
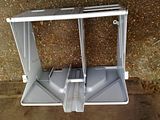
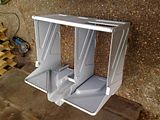
Calorifier, expansion tank and accumulator Calorifier Expansion tank/Accumulator Eberspacher D5WSC - hot water heater Hot water systems


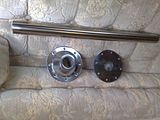
Below is the table leg I bought. I bought this as the DVLA and insurance require a fixable/detachable table for the conversion and there isn't a suitable wall to fit one to.


Table leg

Sunday 20 September 2009

Camper Part 24: Bathroom blues and seating setup

Since the last update Lorraine has been travelling on business quite a bit so I haven't gotten much done as I don't work outside in the evenings when she's away.
There have however been a few area of progress:

More wiring..
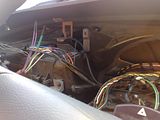
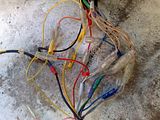
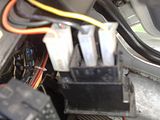
I did quite bit more wiring, this time putting some in rather than stripping out. I fitted the radio Pete picked up for me and also installed a hands-free mobile phone kit at the same time.

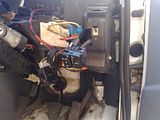
As part of this I removed the plastic linings in the step area. The mess under there is a bit scary, but at least no rust is present as other Sprinter owners have found. I'll be tidying that up before putting the liners back and adding some replacement (and more) sound deadening.

Photobucket Radio wiring in dash Footwell/Step More radio wiring Yet more radio wiring Don't forget the connections

Bathroom blues..
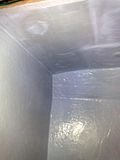
I eventually got around to starting the 'tanking' of the bathroom. I bought a Mira wetroom tanking kit. The first item in the kit is a primer. This is diluted with water and applies in a similar way to PVA which is used for sealing concrete walls, but this stuff seems much better than PVA. I painted this on last weekend and then left things to dry out. Yesterday I tackled the next stage which is a paint on substance (Mira Multicoat 4400) which dries to a rubbery layer. The instructions say that this can be applied by brush, roller or spatula. In the end I used my hands (I was wearing disposable gloves) and spread it out.

For the floors and joints in wetrooms they supply a fleece layer which is applied on top of the first coat of the Multicoat, a second coat is then applied over the top to ensure that the fleece is wetted through.

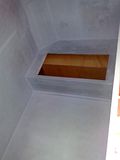
I had sealed all of the joints in the bathroom with structural seam sealant,, but also applied the fleece jointing layer. As opposed to normal wetrooms I also elected to cover all the surfaces, (walls and ceiling) with the fleece as the room will no doubt flex more than in a house for which this product was designed. This however meant that I ran out of Multicoat before finishing the floor. I have ordered more and and will hopefully finish the floor next week.

Bathroom tanking (ceiling) Bathroom tanking (vanity area) Bathroom tanking (toilet area)

Seat setup...
If you've been reading from the beginning, you will know that I have keept space to put in seating for two in the rear. I purchased a used dual passenger seat out of a Sprinter for this purpose. I had not yet fitted this as the Sprinter's floor slopes backwards which means the bottom of the seat base is angled. I did some measuring last week and had figured out how much I needed to cut off. Basically the bottoms of the sides need a wedge cut out so that they are parallel to the tops (this isn't necessarily as obvious as it sounds, as the seat itself has a bit of a taper to it).

I tackled this work today and managed to also cut and weld in some angle iron for new mounting points. This seat has an integral diagonal seat belt, so the floor mountings have to be strong. I've gone overboard to be sure that the unit is at least as strong as Mercedes designed. I then hammerited the new bits. I used balck as that's all I had and the seat will be modified again in the future when I add a second diagonal belt.

I wanted to get this to a point where it could be fitted so long and provide the extra seat to allow the three of us to all travel together. Hopefully I can bolt the seat in next week, it all depends on whether I can do this without dropping the fuel tank or not.

Seat base modification (before) Seat base modification (before) Seat base modification (before) Seat base modification (after cutting) Seat base modification (after cutting) Seat base modification (after cutting)

Bed battling...
When trying out the slats which turn the bunks into a double bed I moticed that they weren't totally parallel. This was caused by the one rear corner of the ambulance not being perfectly square and pushing the bunk out. I pulled the bunk out (which meant removing the cooker and some screws, but luckily I had decided not to glue this stuff in), and trimmed the corner. After a few repetitions to check for fit I managed to get them close enough to parallel for the slats to slide nicely.