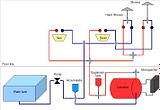
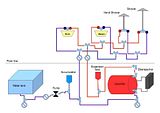
Having dealt with the water design I decided to get on with the bathroom and as such tackled the door for the cassette toilet which I had salvaged out of the caravan. I searched the net and while I could find a copy of the installation manual (on the Thetford website, but badly scanned as some of the pages are at an angle so cut off), I was unable to get a copy of the cutting templates which are referred to. The manual did however describe the process so I was able to follow that.
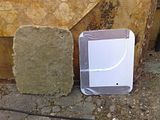
Using some scrap plywood and putting the toilet on my workbench, I cut out an opening and checked to see that I had it right. I didn't want to mess up the side of the vehicle. By doing this I ended up with a plywood template for cutting the outside opening, as well as an interior template for marking the positions. The two templates have holes drilled in them to 'key' them to each other. (WARNING: Read further on!!)
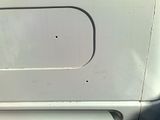
According to the Thetford instructions, you take the first (interior) template and fit it into the corner where the toilet will be located. Drill two small (3mm) holes through the marked locations on the template and right through the wall. This was where I hit my first hurdle. The wall of the ambulance turns out to be about 85mm thick and none of my small drill bits were long enough. In the end I used a 10mm blade style hole cutter.
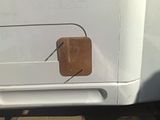
The second (outer) template which has corresponding holes is then stuck to the outside of the vehicle using these holes as guides.
Here's the warning mentioned earlier: As I was using the description to figure this out for myself, I ended up drilling these holes in the part of the outer skin which would later be used to create the door infill panel. The holes should be drill quite close to the outer reaches of the template in the portion which will be trimmed of (i.e. the portion where the plastic frame is located.
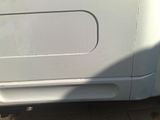
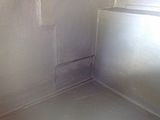
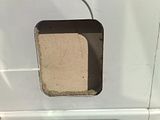
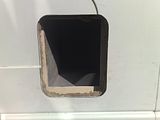
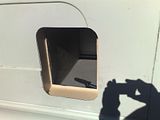
I drew around the template with a marker and then removed the template so that I could apply tape around the aperture and then cut it out. I opted to use an angle grinder with a thin disc and a good mask. The rounded corners were done with a jigsaw. The inside panel was cut from the side also using the grinder. In this case the corners were left square.
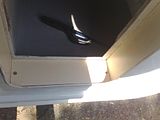
I made up some spacer blocks with scrap plywood (actually bits of the ambulance cabinets) and inserted these in the gap. The photo sequence stops at this point, but I then trimmed the out skin panel (care had to be taken to ensure that body line would match up afterwards) and bonded it into the door with white sealant adhesive (similar to Sikaflex).
The frame was fitted to the vehicle using new stainless screws after drilling pilot holes in the fibreglass skin. This was a temporary fitting as the day was at an end. I would refit this, sealing all the joints properly on another sunny day.


No comments:
Post a Comment