The day started with me sliding under the vehicle and holding the calorifier in place while Lorraine took some pictures. The goal being that I would be able to see if I did in fact have as much clearance as I thought I would have. The answer was yes (just)!
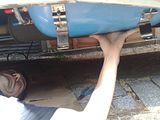
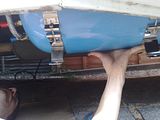
(The pictures show the stainless saddles still set for bottom mounting, these will later be rotated for top mounting.)
I then set about taking measurements and making up some brackets using some scrap angle and square tubing that I had lying around. The area under the sills has outriggers to support the floor which are bolted to the chassis. I decided that it would be safe to drill holes in these and bolt the brackets to them, but I am avoiding drilling any holes in the chassis itself.
These pictures show the calorifier mounted as a test fit prior to removing for painting of the brackets. The final picture in the sequence (apologies for the camera shake) shows the calorifier fittings in order to see the clearance for pipes.
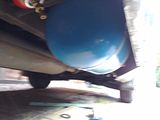
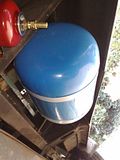
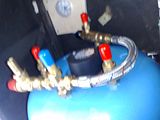
For the expansion tank and accumulator (red tanks in pictures), I drilled some holes directly in the outrigger. While I have been told that these tanks could be mounted horizontally (they work on pressure), I decided to mount them as vertically as possible. This picture shows one test mounted and the other held in place.
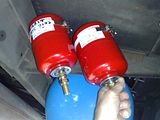
The last job on this topic for the day was to dismantle it all and paint the brackets with black Hammerite. I decided that I would not be assembling this kit under the vehicle until I had made a protective box to surround it. Pete and I bought some aluminium checker plate for a car transporter we built a few years back. A lot of this is still at the workshop so I will be scavenging some to construct a durable box. the colorifier coating is expanded foam so it won't be standing up to stones, etc on it's own.
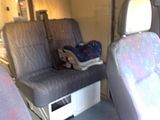
Still having some daylight hours I decided to fit the rear passenger seat. I described the modification and the plates in the previous post. I got Lorraine to help me and tightened up all the bolts. It was a bit of pig getting the plates into place underneath as two of them are above the fuel tank. The tank however hangs below (sort of straddling) the chassis rails so there is about 150mm of clearance, but still takes some contorting to work around. The pictures below show the seat in place. It has since been used to convey Kyle safely around. It currently only has one seatbelt fitted, but as we only have one child, this should suffice for the time being. I am contemplating fitting a lapbelt to the other seat for emergency use.


No comments:
Post a Comment