There have however been a few area of progress:
More wiring..
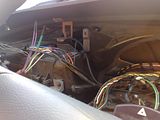
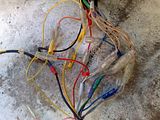
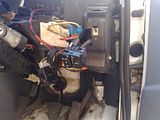
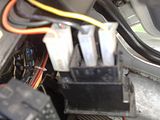
I did quite bit more wiring, this time putting some in rather than stripping out. I fitted the radio Pete picked up for me and also installed a hands-free mobile phone kit at the same time.
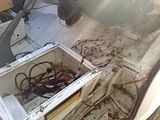
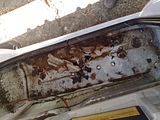
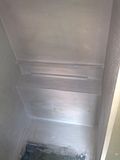
As part of this I removed the plastic linings in the step area. The mess under there is a bit scary, but at least no rust is present as other Sprinter owners have found. I'll be tidying that up before putting the liners back and adding some replacement (and more) sound deadening.
Bathroom blues..
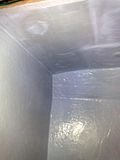
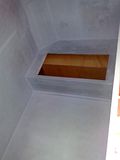
I eventually got around to starting the 'tanking' of the bathroom. I bought a Mira wetroom tanking kit. The first item in the kit is a primer. This is diluted with water and applies in a similar way to PVA which is used for sealing concrete walls, but this stuff seems much better than PVA. I painted this on last weekend and then left things to dry out. Yesterday I tackled the next stage which is a paint on substance (Mira Multicoat 4400) which dries to a rubbery layer. The instructions say that this can be applied by brush, roller or spatula. In the end I used my hands (I was wearing disposable gloves) and spread it out.
For the floors and joints in wetrooms they supply a fleece layer which is applied on top of the first coat of the Multicoat, a second coat is then applied over the top to ensure that the fleece is wetted through.
I had sealed all of the joints in the bathroom with structural seam sealant,, but also applied the fleece jointing layer. As opposed to normal wetrooms I also elected to cover all the surfaces, (walls and ceiling) with the fleece as the room will no doubt flex more than in a house for which this product was designed. This however meant that I ran out of Multicoat before finishing the floor. I have ordered more and and will hopefully finish the floor next week.
Seat setup...
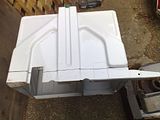
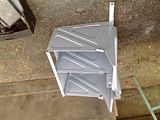
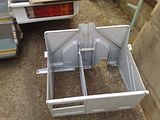
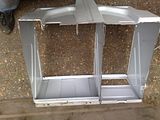
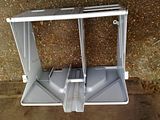
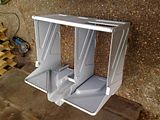
If you've been reading from the beginning, you will know that I have keept space to put in seating for two in the rear. I purchased a used dual passenger seat out of a Sprinter for this purpose. I had not yet fitted this as the Sprinter's floor slopes backwards which means the bottom of the seat base is angled. I did some measuring last week and had figured out how much I needed to cut off. Basically the bottoms of the sides need a wedge cut out so that they are parallel to the tops (this isn't necessarily as obvious as it sounds, as the seat itself has a bit of a taper to it).
I tackled this work today and managed to also cut and weld in some angle iron for new mounting points. This seat has an integral diagonal seat belt, so the floor mountings have to be strong. I've gone overboard to be sure that the unit is at least as strong as Mercedes designed. I then hammerited the new bits. I used balck as that's all I had and the seat will be modified again in the future when I add a second diagonal belt.
I wanted to get this to a point where it could be fitted so long and provide the extra seat to allow the three of us to all travel together. Hopefully I can bolt the seat in next week, it all depends on whether I can do this without dropping the fuel tank or not.
Bed battling...
When trying out the slats which turn the bunks into a double bed I moticed that they weren't totally parallel. This was caused by the one rear corner of the ambulance not being perfectly square and pushing the bunk out. I pulled the bunk out (which meant removing the cooker and some screws, but luckily I had decided not to glue this stuff in), and trimmed the corner. After a few repetitions to check for fit I managed to get them close enough to parallel for the slats to slide nicely.



No comments:
Post a Comment