To start with, I have come to realise that other people refer to the bed as the Y-axis and the gantry as the X-axis. (No such confusion about the vertical axis which all agree is the Z-axis). To this end, I have gone and updated my previous posts.
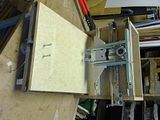
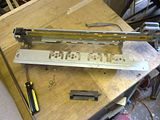
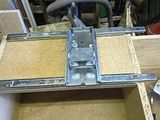
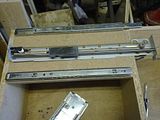
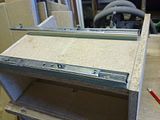
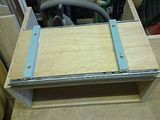
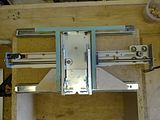
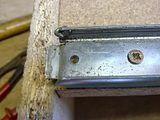
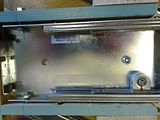
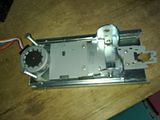
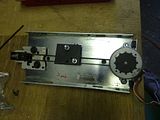
I started with the X-axis drive system (pic 1) and mocked up the Z-axis location (pic 2) and the drive system (pic 3). This made me realise I needed to add spacers to the X-axis rails as the drive system need more space (pic 4):
I then created a mounting plate for the Z-axis, and fitted the X-axis drive. As you can see from the pictures, this is pretty much as removed from the printer, but I cut down the cartridge holder to make a flat surface which could easily be attached to the Z-axis mounting place. I then realised that the (wide) mounting plate (pic 1 below) was fouling on the drive system so I made up a new narrower one as seen in the second pic below. Looking carefully this pic also shows that I had to notch the side of the gantry to get the stepper motor to clear.
The 3rd pic shows how I bent down the X-axis rail end stops to allow the rails to travel in both directions. This means that I could center the Z-axis on the rails. I guess this might come to haunt me in the future as it means I need clearance on both sides of the ScrapStrap, when working, but at least it is less clearance (breathing room) than single sided movement:
The next step was to mount the Z-axis and it's drive mechanism. This bit was quite fiddly and changed along the way so I didn't take lots of pictures in the middle but did of the end result. Bottom line is that I stripped down another ink jet cartridge drive mechanism and used the stepper motor, drive belt, cut down cartidge holder and spring loaded belt tensioner. The most fiddly bit was to align all the elements so that the belt would grip properly.
The 1st picture shows how I used a single bolt at the bottom and two at the top. This would allow fine adjustment of the 'verticality' of the axis in the X-plane. The 2nd picture shows the initial mockup of the drive train.
The 1st picture shows how I used a single bolt at the bottom and two at the top. This would allow fine adjustment of the 'verticality' of the axis in the X-plane. The 2nd picture shows the initial mockup of the drive train.
The black bit that you can see in the 3rd picture is the cut down cartridge holder, while the bolts are there to attach this to the Z-axis.
These last two pictures show the X & Z-axes completed and mounted on the Gantry. there are two picutres to show the travel in the X and Z directions.
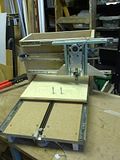
In these pictures the Gantry is not yet mounted to the Y-axis base as I need to ensure that I get this perpendicular. I'm still debating how to ensure this and how accurate it needs to be.
There are 3-planes in which the perpendicularity needs to be ensured. For the X-plane of the Z-axis I have built some adjustment in the Z-axis mounting. The other 2 planes are:
Any comments????
There are 3-planes in which the perpendicularity needs to be ensured. For the X-plane of the Z-axis I have built some adjustment in the Z-axis mounting. The other 2 planes are:
- The X-axis in the Z-plane (i.e. the gantry tilting back and forth); and
- The Y-axis in the X-plane (i.e. the gantry tolting left to right).
Any comments????



No comments:
Post a Comment