This will allow for then fitting the bed units which in turn will allow for the modifcation of the mattresses to suit the shortened length.
My approach is to make carcasses which will then be skinned in ply. This approach allows me the get the final size of the units while still retaining decent access for plumbing and electrical work.
On Sunday evening after recovering from the headache which had plagued me for the whole day, I measured up the 'wet unit' which will comprise the sink, fridge, a small cupboard and drawer.
As I had retained the old fridge cupboard out of the caravan, I was able to table accurate measurements of the space required. In the caravan the fridge had a cupboard below it as it was placed over the wheel well, so couldn't sit lower. In this vehicle I will be locating it closer to the floor as the sink will be above it and the sink bowl means that the fridge can't be as high. Also having the old sink counter meant that I could easily measure that up as well.
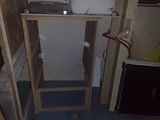
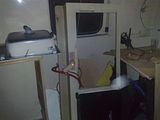
Sketching this out to scale allowed me to figure which wood to use. I had previously purchased a pack each of 44x18 and 33x18 planed pine in 2.7m lengths for this job (I managed to make all the bathroom walls from the wood reclaimed from my neighbours' old kitchen).
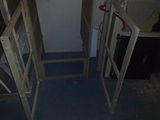
On Monday evening I commenced with the side frames which were finished in short order as they are square and standard shaped, with no wierd walls to comform to.
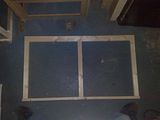
Tuesday night was taken off as Lorraine was out of town and I prefer to not work outside with Kyle alone in the house.
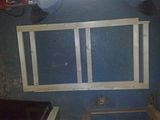
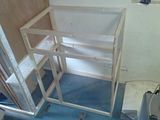
On Wednesday I was able to complete the carcass started on Monday. The photo shows it in place in the vehicle although not fixed in at this stage. The large area on the right is for the fridge, the narrow vertical area on the left is the cupboard mentioned. The upper horizontal area will be divided in two with a drawer on the left, while the right hand side will have a cosmetic 'blanking' cover as the sink bowl will be behind this space.
Next steps are:
- Add the vertical divider for the drawer
- Add a framework for the fridge to rest on and be fixed in place with
- Complete some of the bathroom piping and outside of the bathroom wall
- Fix this unit in place
- Fill the three holes in the floor caused by the removal of the stretcher fixings
The above will then let me continue with the beds and then the cooker unit which will stand opposite the sink unit.


No comments:
Post a Comment