You can't make an omelette without breaking any eggs. It seems the same is true of making a camper out of an ambulance....
By last night I had cleared out all the bolted in ambulance fixtures and was able to mock up the floor plan by loosely placing items in the areas where we had previously thought they might go. This was very usefull as it has helped to clarify what will fit and what changes I need to make to the internal structure.
Today we had to go fetch Lorraine's car from the dealer who serviced it. They also happen to be a motorhome dealer and had a Sprinter based motorhome in stock. I spent some time looking at some the details (and underneath) to see if I could get any ideas. I like the way they made the bed, and the underslung tanks look great.
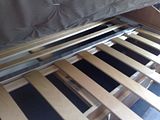
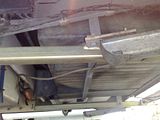
On our way back we stopped in at the shops to get some bits that I would need for the build, but Lorraine also got me to buy some wood for her veggie garden. On my return home I first sorted the veggie garden so only got back the camper later in the afternoon.
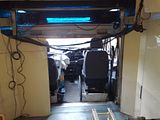
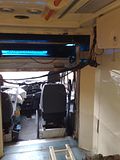
Ok, so back to the omelettes, it seems the dismantling still has a way to go before assembly can begin. As the shower will be fitted right behind the passenger seat, the bulkhead there will remain. The upper bulkhead area protrudes into the living space as this was a locker area in the ambulance. I have cut the protrusions out an will be filling in the empty space to make flat vertical wall.
In the ambluance they had a rear-facing seat in the rear area behind the driver. Our intention is to replace this with a pair of forward facing seats. This will make the vehicle a true 4 seater. Some Sprinters leave the factory with a pair of passenger seats on a metal seat base which incorporates a 3-point seat belt for one of the seats. I am trying to acquire one of these (at a reasonable price) to see if it will work for our rear passenger seats. The biggest challenge that I can foresee is mounting the upper seat belt for the 2nd seat, as in it's normal location this is on the vehicle's B-pillar.
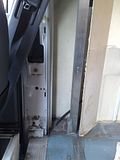
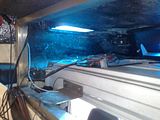
In order to make space for this I have stripped out the driver's side of the bulkhead (this involved cutting out the fibreglass panel). The salvaged bits will be used to repair the passenger side as described above.
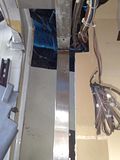
Cutting out the panel exposed the metal support framework that UVG make to provide structure for the ambulance. What I noticed is that the vertical parts of the structure lean inwards (matching the cab profile), but as the rear section is 'square', this needn't have been the case. I will be discussing this with Pete to see if we can change it in order to change some more space in the over cab area. You may also note if you look carefully in this area that there is some kind of boxed section up there which is totally sealed off. I intend to cut this out as well in order to gain more space. We are debating a slideaway bed in this area (a'la the one in the motorhome pics above) for Kyle.
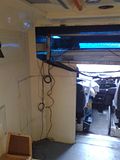
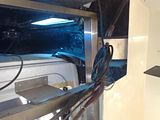
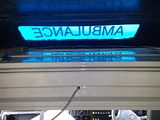
I also stripped out the box that housed the front 'ambulance' light. This was simply a fibeglass box which was bonded in. The outside of this 'light' is a piece of blue perspex which is screwed and sealed over a hole which was cut in the front of the structure. This looks like a later retro fit as it doesn't appear to be done very well (the cuts aren't straight, etc). I will be removing the perspex and repairing the hole with fibreglass and filler.
On the way back from the shops I noticed that a house down the road was refitting their kitchen and some new kitchen counter off-cuts were leaning against the skip outside. I knocked on the door and asked if I could have them (which they said I could), so I have two off cuts which are more than large enough for the two areas that we will have.
Anyway, here are some pictures showing the areas I've worked on today and the horrors of wiring which exist.


No comments:
Post a Comment